-
home dongguan Houjie Industrial Park

how to make a gift bag out of wrapping paper
[ad_1]
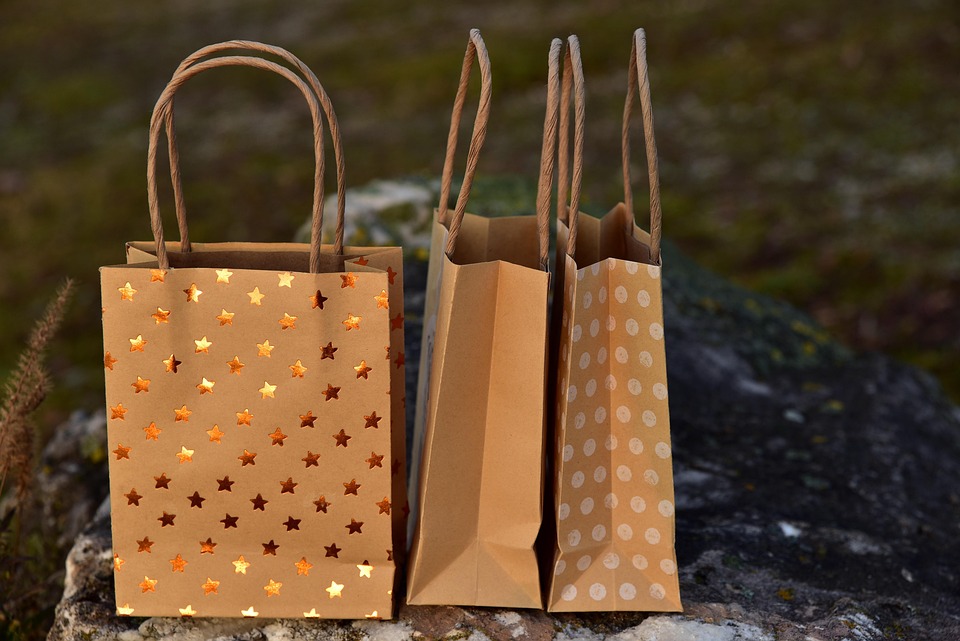
Wrap it Up Beautifully: The Simple Guide to Making a Gift Bag From Wrapping Paper
Rummaging for a gift bag only to find yourself empty-handed just minutes before heading to a party? Sound familiar? Don’t panic! That roll of beautiful wrapping paper tucked away in your closet isn’t just for wrapping boxes. With a few simple folds and a little tape, you can transform it into a stylish and personalized gift bag in minutes.
This DIY trick is not only a lifesaver in a pinch, but it’s also a fantastic way to use up leftover wrapping paper scraps, adding a touch of handmade charm to your gift presentation. Plus, it’s surprisingly easy, even for crafting novices. Ready to ditch the last-minute store run and create your own amazing gift bag? Let’s get wrapping!
What You’ll Need:
- Wrapping Paper: Choose a sturdy paper. Thicker paper will hold its shape better, especially for heavier gifts. Consider the print to match the occasion and recipient!
- Scissors: Sharp scissors for clean cuts.
- Tape: Double-sided tape is ideal for hidden seams, but regular clear tape works just fine.
- Ruler or Straight Edge (Optional but Recommended): For crisper folds.
- Ribbon or String (Optional): For handles and extra decoration.
- Hole Punch (Optional): If adding ribbon handles.
Let’s Get Started!
Here’s a step-by-step guide to crafting your own wrapping paper gift bag:
Step 1: Prep Your Paper
- Lay it Flat: Unroll your wrapping paper and place it pattern-side down on a flat surface.
- Determine Size: Think about the size of your gift and decide how large you want your gift bag to be. A general rule of thumb is to have the paper roughly three times the height of your gift and wide enough to wrap around it with some overlap. You can always trim excess later. For a standard gift bag, start with a rectangular piece approximately 24 inches wide and 18 inches tall.
Step 2: The Initial Fold
- Fold in Half (Widthwise): Bring one of the shorter edges of your paper over to meet the opposite edge, folding it in half lengthwise (hamburger style). Crease the fold firmly.
- Open it Up: Unfold the paper, leaving the crease visible.
Step 3: Creating the Sides
- Fold to the Center Crease: Take one of the outer edges and fold it towards the center crease you just made, aligning the edge with the crease line. Crease firmly.
- Repeat on the Other Side: Do the same with the other outer edge, folding it towards the center crease. You should now have the two outer edges meeting or slightly overlapping in the middle.
Step 4: Secure the Sides
- Tape the Seam: Use tape to secure the overlapping (or just meeting) edges in the center. Run a strip of tape down the entire length of the seam, both on the inside and outside of the bag for extra strength, especially if using thinner paper. Double-sided tape here will make the seam virtually invisible on the outside.
Step 5: Forming the Base
- Fold Up the Bottom Edge: With the taped seam facing you, fold the bottom edge of the paper upwards about 2-3 inches (this will depend on the size of your bag – adjust for larger items). Crease firmly.
- Open the Bottom Fold: Carefully open up the bottom fold, forming triangle-like flaps at each corner.
- Flatten and Create Diamond Shape: Flatten these triangle flaps inwards, pressing them down to create a diamond shape at the bottom of the bag. You should now see a flat, diamond-shaped base forming.
- Fold and Tape the Base: Fold the top and bottom points of the diamond shape inwards, overlapping them slightly. Tape these overlapping sections securely to form the flat bottom of your bag. Again, tape both inside and out for durability.
Step 6: Finishing the Top Edge
- Fold Over the Top Edge: Fold the top edge of the bag over by about 1-2 inches towards the inside. Crease firmly. This creates a neat, finished look and reinforces the top edge.
- Optional: Fold Again: For extra reinforcement or a decorative touch, you can fold the top edge over again.
Step 7: Add Handles (Optional)
- Ribbon Handles: If you want handles, punch two holes on each side of the top folded edge, evenly spaced. Thread ribbon or string through the holes and tie knots inside the bag to secure them.
- Paper Handles: Cut strips of leftover wrapping paper or cardstock. Fold them in half lengthwise and glue or tape them to the inside top edges of the bag as handles.
Step 8: Decorate and Personalize!
- Embellish: Now comes the fun part! Add ribbons, bows, stickers, gift tags, or even draw directly on the bag to personalize it.
- Tissue Paper: Scrunch up some tissue paper and place it inside the top of the bag for a polished and celebratory touch.
Tips and Tricks for Gift Bag Success:
- Sturdier Paper for Heavier Gifts: Use thicker wrapping paper or even reinforcement inside the base if you’re carrying heavier items.
- Experiment with Paper Orientation: Consider how the pattern of your wrapping paper will appear on the finished bag. You might want to adjust the paper dimensions or folding if you have a specific design in mind.
- Reinforce the Base: For extra security, you can cut a piece of cardboard to fit the base of the bag and place it inside before adding your gift.
- Practice Makes Perfect: Don’t worry if your first attempt isn’t flawless! Practice a few times, and you’ll quickly become a pro at whipping up these gift bags.
Beyond the Basics:
- Vary the Size: Adjust the initial paper size to create bags of different dimensions for various gifts.
- Use Scrap Paper: This is a fantastic way to use up leftover wrapping paper scraps from previous gift-giving occasions.
- Theme it Up: Choose wrapping paper that matches the occasion or the recipient’s personality for an extra thoughtful touch.
Making a gift bag from wrapping paper is a simple, satisfying, and surprisingly elegant solution for all your gifting needs. So next time you’re in a gift-wrapping bind, remember this clever trick and impress everyone with your crafty and thoughtful presentation! Happy wrapping (and gifting)!
[ad_2]