-
ホーム 東莞厚街工業園区

Designing Your Own Paper Bags: A Guide
[ad_1]
Paper bags have become a staple in our daily life, and with the increasing awareness of environmental concerns, more people are opting for eco-friendly alternatives. One of the best ways to reduce waste is to design and use your own paper bags. In this article, we will guide you on how to design your own paper bags, materials needed, and steps to follow for a successful and professional outcome.
**Materials Needed:**
To get started, you will need a few simple materials, including:
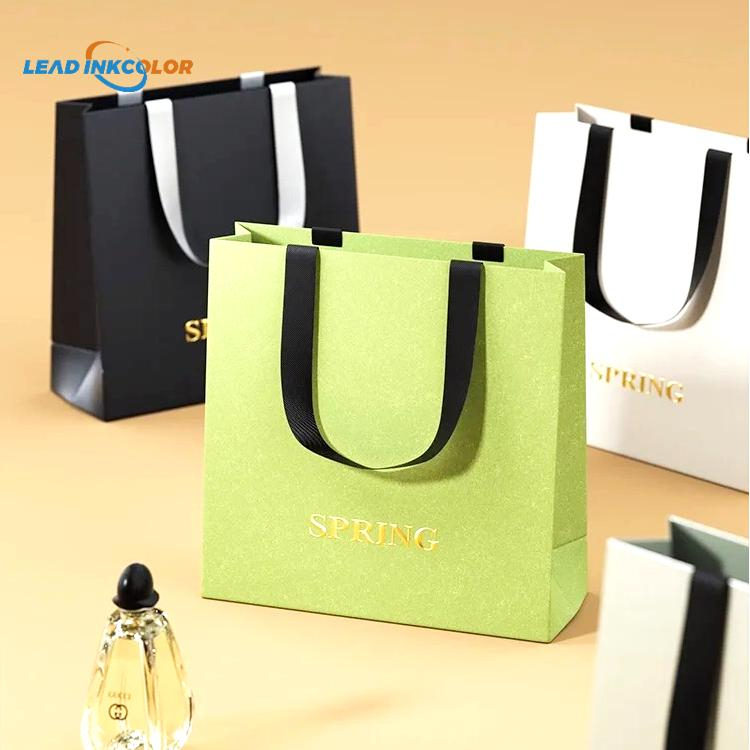
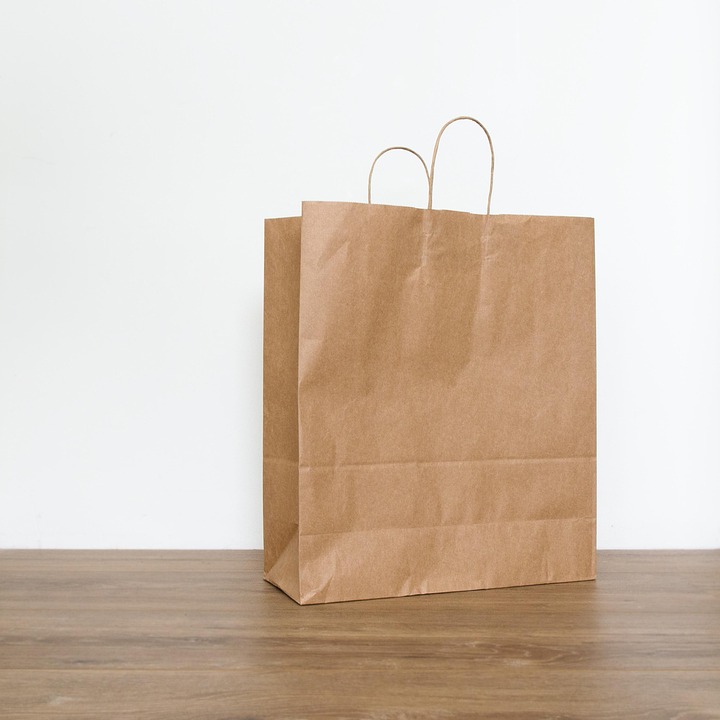
* Paper: You can use any type of paper, including kraft, recycled, or even silent poly mailers for a more modern look.
* Scissors: A good pair of scissors is essential for cutting the paper to the desired shape and size.
* Ruler or straightedge: A ruler or straightedge is necessary for drawing straight lines and edges.
* Pencil or marker: For drawing designs, logos, and patterns.
* Glue or adhesive: To hold the papers together, you may need some glue or adhesive.
* Optional: Decorative items (ribbons, stickers, stamps, etc.)
**Designing Your Own Paper Bag: A Step-by-Step Guide:**
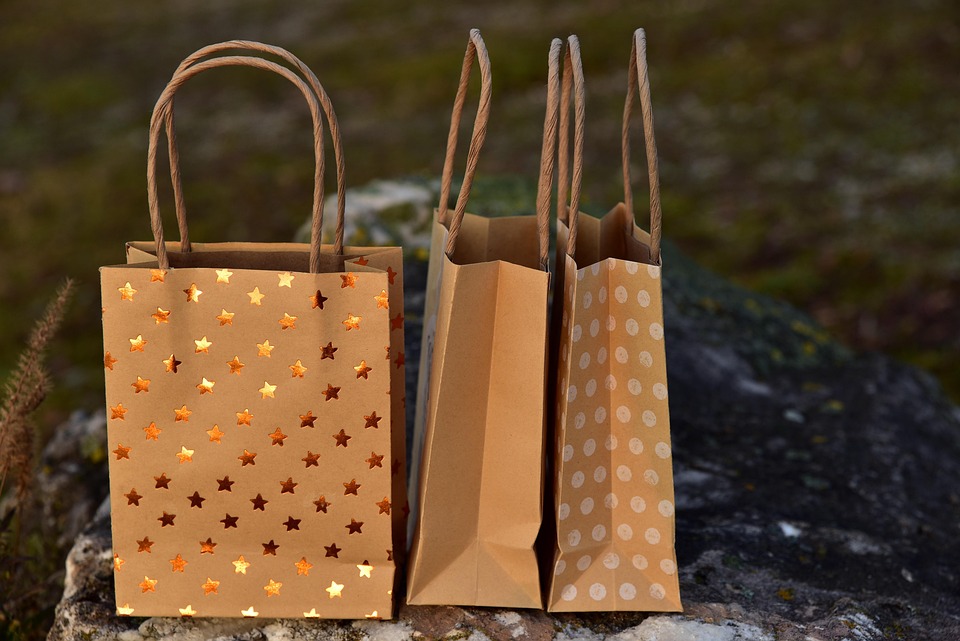
1. **Measure and Cut Your Paper:** Measure the paper according to your desired size. You can choose from various shapes and sizes, but a standard rectangle with a flat bottom or a square base are popular choices. Cut the paper using scissors, making sure to cut straight edges.
2. **Draw Your Design:** Using a pencil or marker, draw your design, logo, or pattern on the paper. You can add text, graphics, and other details as needed.
3. **Add a Twist-Tie or Handle:** Add a twist-tie or a handle to the top of the bag. This will make it easier to close and open the bag.
4. **Assemble the Bag:** Use glue or adhesive to hold the papers together. Apply it to the seams and press gently to ensure a secure bond.
5. **Add Finishing Touches:** Use decorative items like ribbons, stickers, or stamps to give your paper bag a personal touch.
6. **Test and Refine:** Before mass-producing your design, test the bag’s durability, and refine any weak points.
**Tips and Tricks:**
* Use a heavy-duty paper or Kraft paper for added strength.
* Add a reinforced strip to the bottom of the bag for extra support.
* Use a heat-activated adhesive for a more durable bond.
* Consider adding a window or a clear plastic pocket for visibility.
**Conclusion:**
Designing your own paper bags is a simple and cost-effective way to reduce your carbon footprint. With a few basic materials and some creativity, you can create unique and functional paper bags. By following the steps outlined in this guide, you can create a professional-looking bag that reflects your brand or personal style. Remember to prioritize durability, functionality, and aesthetics.
**Frequently Asked Questions:**
Q: What type of paper is best for paper bag making?
A: Any type of paper can be used, but kraft paper, recycled paper, or silent poly mailers are popular choices.
Q: Can I add a zipper or Velcro?
A: Yes, you can add a zipper or Velcro to the top of the bag for added security.
Q: How do I ensure the glue or adhesive doesn’t show?
A: Use a heat-activated adhesive or a clear adhesive that won’t leave a residue.
Q: Can I use a printer for the design?
A: Yes, you can print your design directly onto the paper before cutting and assembling the bag.
Q: How do I store leftover paper scraps?
A: Store them in an airtight container or reuse them for future projects.
By answering these questions, you will be well on your way to designing and producing your own paper bags. With the right materials, patience, and practice, you can create a unique and eco-friendly alternative to traditional plastic bags.
[ad_2]