-
ホーム 東莞厚街工業園区
how to make a bag from wrapping paper
[ad_1]
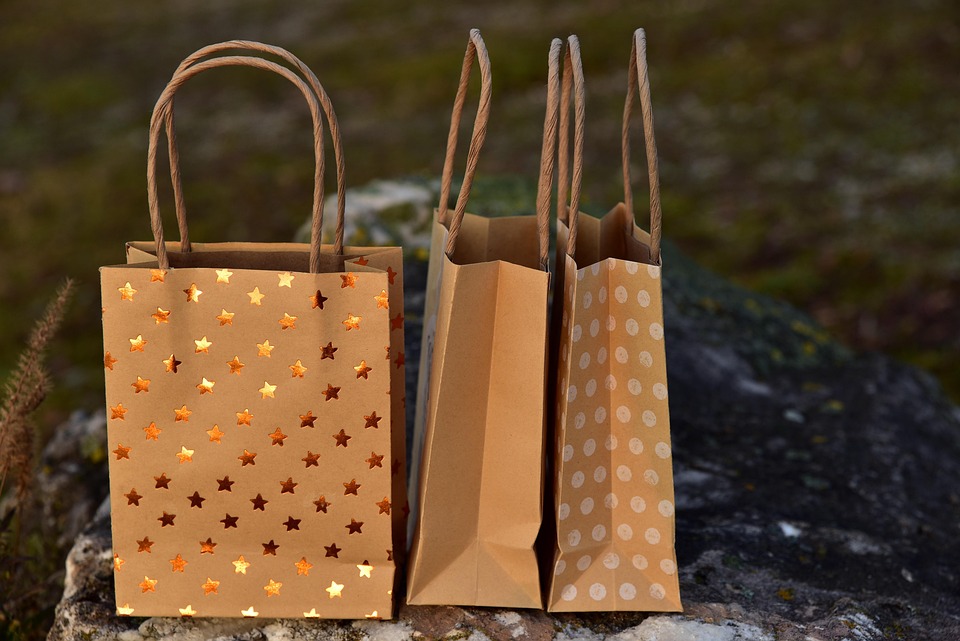
From Flat to Fab: Craft a Stylish Gift Bag from Wrapping Paper (And Save the Planet a Little, Too!)
Gift-giving is a beautiful gesture, but let’s be honest, sometimes the wrapping process can feel a bit…wasteful. Mountains of shimmering paper end up crumpled and tossed after a fleeting moment of prettiness. But what if you could turn that very wrapping paper into a gift itself, or at least a beautiful and functional gift bag?
Enter the humble, yet surprisingly chic, wrapping paper gift bag. This ingenious craft not only gives a second life to leftover rolls or beautifully patterned sheets, but it also allows you to create a personalized, eco-friendlier alternative to store-bought bags. Plus, it’s incredibly satisfying to transform something destined for the bin into something practical and pretty!
Ready to ditch the plastic and embrace a touch of DIY charm? Let’s walk through how to craft your own stylish gift bag from wrapping paper:
必要となるもの:
- 包装紙: Choose a sturdy paper for best results. Thicker paper with a coating works well. Consider using festive holiday paper, elegant patterns, or even repurposed newspaper for a unique look.
- Scissors or a Craft Knife & Ruler: For clean cuts.
- Double-Sided Tape or Strong Glue Stick: Tape is often easier and less messy for beginners.
- Single-Sided Tape: For reinforcing edges if needed.
- Optional: Ribbon, twine, stickers, embellishments for decoration.
- Optional: Hole punch and ribbon or string for handles.
Let’s Get Wrapping (Paper-Bag Style!)
Follow these simple steps to create your own bespoke gift bag:
1. Prep Your Paper:
- Lay your wrapping paper pattern-side down on a flat surface.
- Decide on the size of your desired bag. A good starting point is to imagine roughly the size of the gift you’ll be placing inside. For a standard gift bag, start with a sheet approximately 18 inches wide by 12 inches tall. You can adjust these dimensions depending on your needs.
- Pro Tip: If using patterned paper with a directional print, consider the orientation of the pattern when you fold.
2. Create the Body of the Bag:
- Fold and Secure the Side Seam: Bring one of the shorter sides of your paper over to overlap the opposite short side by about 1-2 inches. This overlap will form the side seam of your bag.
- Crease the fold firmly along the overlap.
- Apply double-sided tape along the inside edge of the overlapping paper. Press the two sides together firmly to create a closed cylinder.
3. Form the Bottom of the Bag:
- Flatten the Cylinder: Gently flatten the cylinder so the side seam runs down the center back and the open ends are now at the top and bottom.
- Fold the Bottom Flap: Take the bottom open edge and fold it upwards by about 3-4 inches (adjust depending on the size of your bag). Crease this fold firmly.
- Create the Gusset: Open up the folded bottom flap and gently push in the two corners, creating a diamond shape (or a triangular gusset). Imagine pinching the bottom corners inwards to create a flat base.
- Fold and Tape the Bottom Closed: Fold the top and bottom points of the diamond shape inwards towards the center, overlapping slightly. Secure these flaps with double-sided tape or glue to create a sealed bottom. You may want to reinforce the bottom with extra tape, especially for heavier gifts.
4. Shape the Top Opening:
- Fold Down the Top Edge: Fold down the top open edge of the bag inwards by about 1-2 inches. Crease this fold firmly all the way around. This creates a neat and finished edge. You can fold it down again for extra sturdiness and a rolled edge look.
- Optional: Reinforce the Top Edge: You can use single-sided tape along the inside of the folded-over top edge for extra durability, especially if you plan to add handles.
5. Add Handles (Optional, but Recommended):
- Hole Punching: Use a hole punch to create two holes on opposite sides of the top opening, about 1-2 inches from the top edge and evenly spaced apart.
- Thread Ribbon or String: Thread ribbon, twine, or strong string through the holes, tying knots on the inside of the bag to secure them as handles. Adjust the length to your preference.
- Alternative Handles: You can also use strips of sturdy wrapping paper, fabric, or even repurposed gift ribbon to create handles. Secure them to the inside of the bag with strong tape or glue.
6. Decorate and Personalize!
- This is where the fun truly begins! Embellish your bag with:
- Ribbon bows tied to the handles or the bag itself.
- Stickers, glitter, or stamps.
- Hand-drawn designs or messages.
- Gift tags personalized for the recipient.
- Confetti or tissue paper inside the bag to add extra flair.
Why You’ll Love Wrapping Paper Gift Bags:
- Eco-Friendly: Reduce waste by repurposing leftover wrapping paper.
- Cost-Effective: Save money on store-bought gift bags.
- Personalized Touch: Create unique bags perfectly suited to the gift and recipient.
- Creative Outlet: Enjoy a fun and satisfying craft activity.
- Last-Minute Savior: Perfect for when you’re out of gift bags or need something quickly.
- Impressive Presentation: Homemade bags add a special touch that shows you care.
So, next time you’re faced with a pile of leftover wrapping paper, don’t just toss it! Transform it into a charming and practical gift bag. You’ll be amazed at how easily you can create something beautiful and functional, while also doing your bit for the environment. Happy crafting and happy gifting!
[ad_2]