-
ホーム 東莞厚街工業園区
how to put tissue paper in a gift bag
[ad_1]
Elevate Your Gift-Giving Game: Mastering the Art of Tissue Paper in a Gift Bag
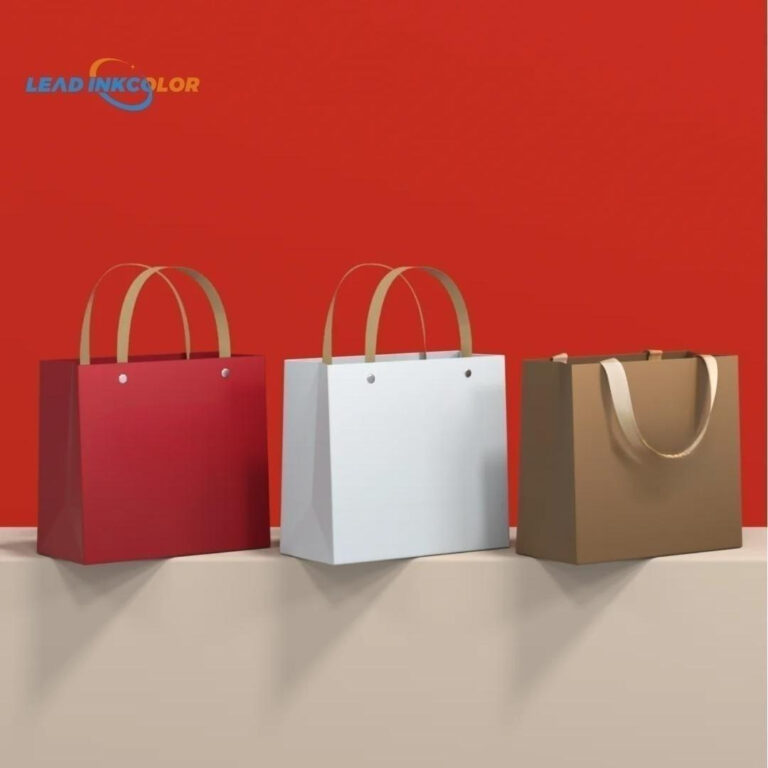
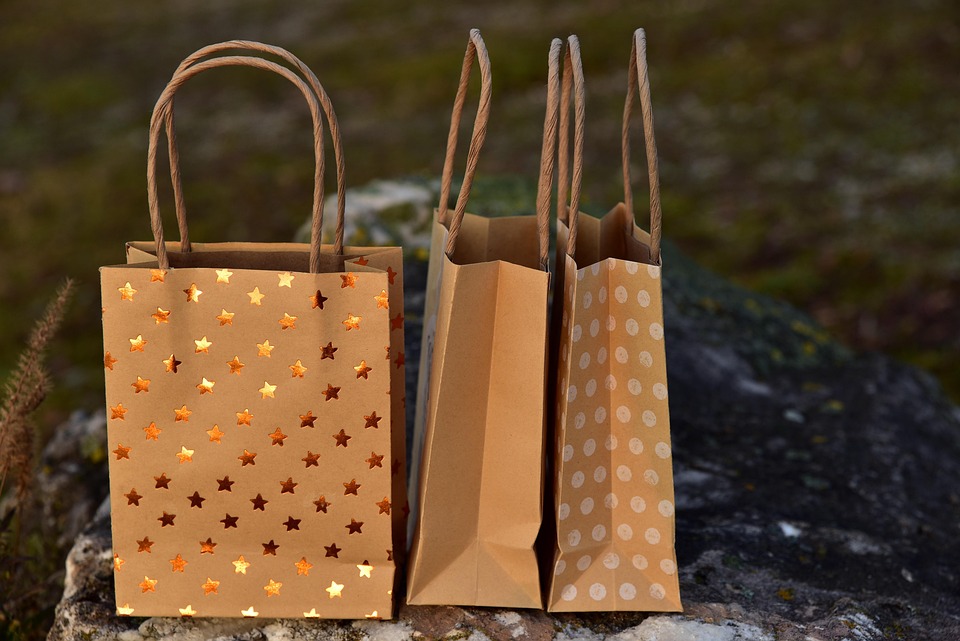
Gift bags. They’re the unsung heroes of birthdays, holidays, and any occasion that calls for a thoughtfully presented present. They’re convenient, reusable, and instantly make your gift feel a step above a plain-wrapped box. But let’s be honest, a gift bag just plopped onto the table can look a little… well, unfinished. The secret to taking your gift bag from drab to dazzling? Tissue paper.
More than just filler, tissue paper is the decorative flourish that adds polish, intrigue, and a touch of excitement to the gift-opening experience. It’s the visual appetizer that hints at the delightful surprise within. But simply stuffing crumpled tissue paper in and hoping for the best rarely cuts it. Fear not, gift-giving enthusiasts! This isn’t rocket science, but a few simple techniques can transform your gift bag game from amateur to pro.
Why Bother with Tissue Paper, Anyway?
Before we dive into the how-to, let’s quickly appreciate why tissue paper is your gift bag’s best friend:
- Visual Appeal: It adds color, texture, and height, instantly making the gift more visually appealing. A burst of color peeking out of the bag is inherently more inviting than just seeing the gift directly.
- Concealment & Suspense: Tissue paper creates a layer of mystery and anticipation. It hides the gift just enough to build excitement, making the reveal even more satisfying.
- Cushioning & Protection: Tissue paper provides a soft layer of cushioning, protecting delicate gifts from shifting or getting scratched during transport.
- Volume & Fullness: Even if your gift is small, tissue paper adds volume to the bag, making it look fuller and more substantial.
- Personalization: You can choose tissue paper colors and patterns that complement the occasion, the recipient’s style, or the gift itself, adding a personal touch.
Tissue Paper Techniques: From Basic to Brilliant
Ready to become a tissue paper pro? Here’s a step-by-step guide to mastering various techniques:
1. The Classic "Spike" or Pointed Look: This is the go-to, always-reliable method that’s both simple and elegant.
- Gather your supplies: Gift bag, tissue paper (2-4 sheets, depending on bag size and desired fullness), and your gift.
- Prepare the tissue: Lay out your tissue paper sheets on a flat surface. Stack them together if using multiple sheets.
- The "Fold and Pinch" Technique: This is key! Instead of just crumpling, fold the tissue paper like an accordion or fan, loosely and gently. You don’t need perfect folds, just a consistent back-and-forth. Alternatively, you can also gather the center of the tissue paper and pinch it together like you’re making a flower.
- Position in the Bag: Place the folded/pinched end of the tissue paper inside the gift bag, towards the bottom. Let the unfolded, ruffled ends fan out and point upwards and outwards.
- Fluff and Arrange: Gently adjust the tissue paper spikes so they are evenly distributed and create a visually pleasing burst. Angle them slightly outwards for a dynamic look. You can also slightly separate the layers of the tissue paper to add more volume and texture.
2. The Soft "Puff" or Cloud Look: For a softer, more romantic or whimsical feel.
- Similar Prep: Gather supplies and lay out tissue paper.
- Gentle Crumpling: Instead of folding, gently crumple each sheet of tissue paper into a loose ball shape. Don’t crush it too tightly; you want to maintain some airiness.
- Layering the Puffs: Place the crumpled tissue paper balls inside the gift bag, layering them to create a soft, cloud-like effect. You can use a few at the bottom and then a denser layer at the top.
- Subtle Peeking: Let the soft edges of the crumpled tissue peek over the top of the bag. You want it to look effortlessly fluffy and inviting.
3. The Layered Look (Mixing Colors and Textures): For extra visual interest and sophistication.
- Choose your colors: Select 2-3 colors or textures of tissue paper that complement each other and your gift. Consider solids, patterns, metallic accents, or even sheer tissue paper for layering.
- Combine Techniques: You can mix and match the "spike" and "puff" techniques with different colors. For example, use a solid color for the "spikes" in the back and a patterned or metallic tissue for "puffs" closer to the front.
- Layer Strategically: Place darker or bolder colors towards the bottom for depth, and lighter or more delicate colors on top. Experiment with alternating colors or creating patterns.
- Don’t Overcrowd: Ensure there’s still space for the gift to be easily seen and removed. The tissue paper should enhance, not overwhelm.
Pro Tips for Tissue Paper Triumph:
- Quantity Matters: Too little tissue paper looks sparse and underdone. Too much makes the bag look overstuffed and messy. Aim for just the right amount to create a full, yet balanced look.
- Color Coordination: Match or complement your tissue paper to the gift bag and the occasion. Consider using themed colors for holidays or birthday party colors.
- Don’t Be Afraid to Experiment: Try different folding and crumpling techniques, color combinations, and arrangements to find what works best for you and your gift.
- Quality Tissue Paper: While budget-friendly tissue paper is fine for basic use, consider upgrading to thicker, more vibrant tissue paper for special occasions. It makes a noticeable difference in the overall presentation.
- Finishing Touches: Don’t forget to add a ribbon, gift tag, or even a small decorative element tied to the tissue paper for an extra layer of charm.
Beyond the Basics: Creative Tissue Paper Ideas:
- Patterned Tissue Paper: Use tissue paper with fun patterns, polka dots, stripes, or seasonal designs.
- Metallic Accents: Gold, silver, or rose gold tissue paper adds a touch of glamour and sophistication.
- Sheer Tissue Paper: Layer sheer tissue paper over solid colors to create depth and a subtle shimmer.
- Custom Tissue Paper: For truly special occasions, consider ordering custom tissue paper printed with a logo, message, or design.
The Takeaway:
Mastering tissue paper in a gift bag is a simple yet impactful way to elevate your gift-giving. With a little practice and these easy techniques, you’ll be creating beautifully presented gifts that are sure to impress and delight. So, ditch the crumpled mess and embrace the artistry of tissue paper – your gifts, and your recipients, will thank you for it! Happy gifting!
[ad_2]