-
ホーム 東莞厚街工業園区
Paper Bag Mache: A Fun and Creative Activity
[ad_1]
Paper Bag Mache: A Fun and Creative Activity
The Basics of Paper Bag Mache
Paper bag mache, a combination of paper and adhesive, has been a popular art form for centuries. The process is simple and versatile, making it accessible to people of all ages and skill levels. Whether you’re a child or an adult, paper bag mache is an excellent way to express your creativity and produce a unique piece of art.
Gather Your Supplies
Before you start, gather the necessary supplies. You’ll need:
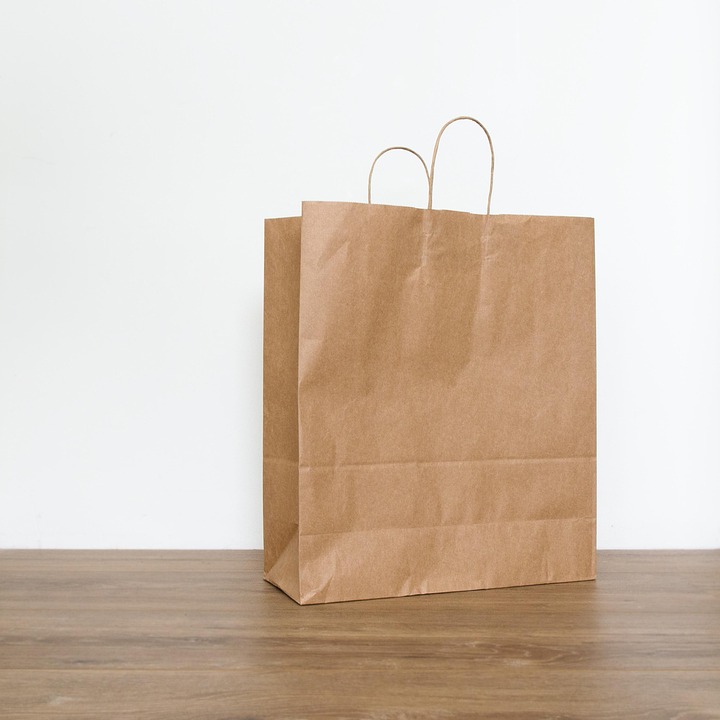
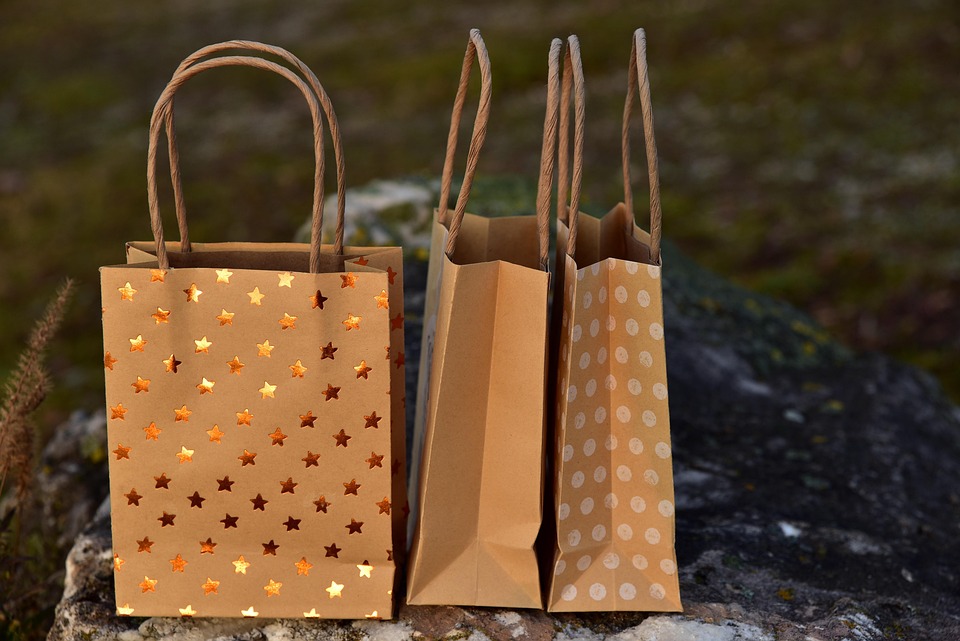
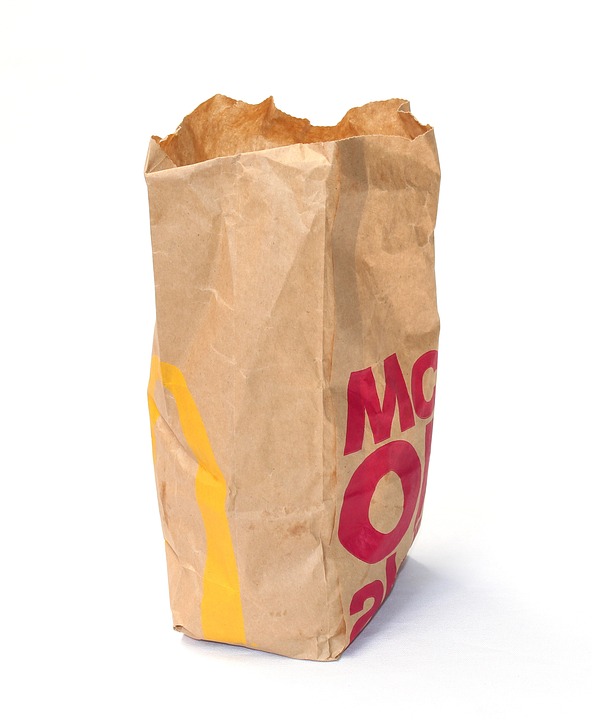
* Paper bags (brown or white)
* Newspaper or strips of paper
* Glue (white school glue or glue stick)
* Scissors
* A surface to work on (table or cardboard box)
* Optional: paint, markers, or other embellishments
The Process
To create your paper bag mache project, follow these steps:
1. Cut the paper bags into strips, approximately 1-2 inches wide.
2. Tear the newspaper or regular paper into small strips.
3. Apply a layer of glue to the object you want to cover (e.g., a balloon, paper plate, or even a sculpture). This will be the base of your project.
4. Begin applying the paper bag strips, overlapping them slightly as you go. Use your fingers or a tool like a sponge to smooth out any wrinkles.
5. Apply a new layer of glue, allowing the previous layer to dry slightly.
6. Continue this process, building layers of paper and glue. It’s essential to allow each layer to dry before adding the next.
7. Once you’ve achieved the desired thickness, paint or decorate your project with markers or other embellishments.
8. Allow the final layer to dry completely before displaying or varnishing your artwork.
Variations and Tips
While the basic process remains the same, there are various ways to customize your paper bag mache project:
* Add texture: Use different materials like fabric, felt, or even found objects to create unique textures.
* Change the color: Paint or dye your paper bags to create a specific hue or pattern.
* Experiment with shapes: Use balloons, paper plates, or even found objects as the base of your project.
* Incorporate other materials: Add natural materials like leaves, twigs, or flowers for a more organic look.
Some helpful tips to keep in mind:
* Use a variety of glue types, such as white glue, hot glue, or decoupage medium, to achieve the desired effect.
* Work in a well-ventilated area, as some glues or materials can emit fumes.
* Apply consistent pressure to smooth out wrinkles and avoid air bubbles.
* Be patient, as the drying process can take several hours or overnight, depending on the thickness of your project.
Conclusion
Paper bag mache is an affordable, accessible, and creative outlet that allows you to produce unique and imaginative art. With the basic process and tips outlined above, you’re ready to start creating your own paper bag mache projects. Don’t be afraid to experiment and push the boundaries of this versatile medium. Remember, the most important aspect is to have fun and enjoy the creative process!
A: While any type of paper bag can be used, brown paper bags tend to create a more earthy, natural look. White paper bags produce a cleaner, more modern appearance.
A: The drying time varies depending on the thickness of the layers, humidity, and temperature. Conservatively allow 2-4 hours between layers. Lift the project gently to check for dryness.
A: Yes! Paper bag mache is an excellent choice for functional items. Once dry, you can paint and varnish the project, making it durable and water-resistant.
A: Absolutely! Combining different textures and materials adds depth and interest to your project. Be creative and experiment with various materials, like natural fibers, fabric scraps, or even found objects.
A: Paper bag mache can be used for outdoor projects, but keep in mind it’s not recommended for harsh weather conditions or direct sunlight. Apply a waterproofing agent or varnish to protect the project.
A: Yes! Store your finished projects in a dry, cool area. Avoid placing them near direct sunlight, high humidity, or extreme temperatures. You can also use a sealant or varnish to protect the project from dust and damage.Q: Can I use any type of paper bags?
Q: How long does it take for the layers to dry?
Q: Can I use paper bag mache for practical items, like a planter or vase?
Q: Can I mix different textures and materials?
Q: Can I use paper bag mache for outdoor projects?
Q: Can I store my paper bag mache projects?
[ad_2]